FREE DIY WORDPRESS SITE

A Re-Design All Can Afford!
How to install and setup the FREE website in 15 minutes.
What Do I Need For This Free Website?
- A website Hosting
- A website Domain
- Download the DIY2022.zip file from the link provided in the freebies email sent to you.
- P/S – If you have not registered with us, [Click here] to get your freebies now.
- Get the password for the installation of the DIY site from the freebies email.
- A computer with access to the internet.
How Do I install the site?
- Download the DIY2022.zip file from the link provided in the freebies email.
- Unzip the file, to discover an installer.php and diyfreewebsite…archive.zip
3. Upload both the files to your hosting server.
4. You can do this via FTP or your hosting CPanel.
5.If you have doubt on this, please refer to your hosting provider to help upload these 2 files.
6. For this tutorial, we will use the most common way to upload via the CPanel of your hosting.
7. Login to your hosting server.
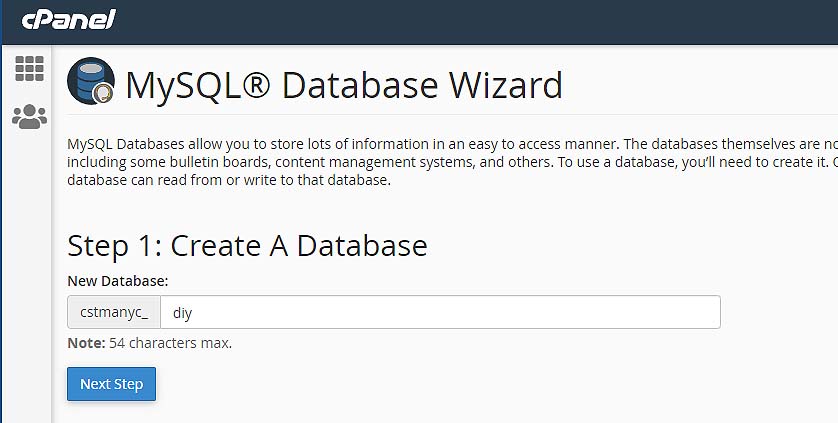
8. Create your database by clicking on MySQL@Database Wizard.
9. Give your database a name – in this case I call it “diy”.
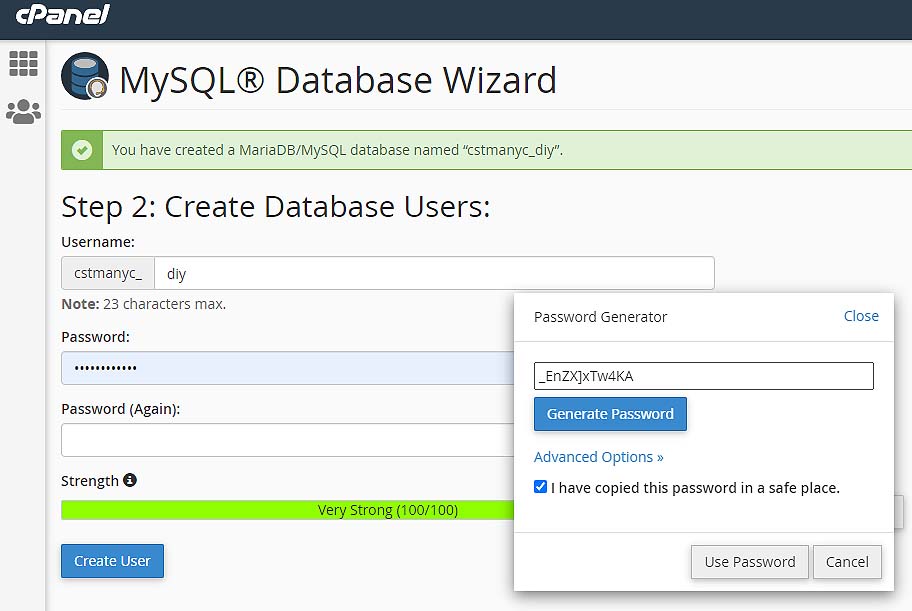
10. Give your Username a name – in this case I call it “diy”.
Create a Password, using the Password Generator.
Remember to tick the “I have copied this password in a safe place” and click Use Password.
IMPORTANT: Remember to jot down your database name, database username and the password.
Keep it as you will need it later.
Then click Create User.
11. Tick on All Privileges to give full privileges to the User.
Then click Next Step.
12. You have successfully created your database.
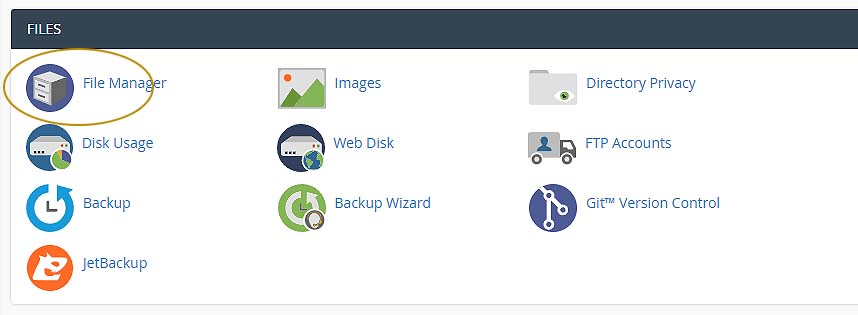
13. Click on the File Manager.
14. Click on the public_html folder.
15. Click on the Upload link.
16. Upload the files.
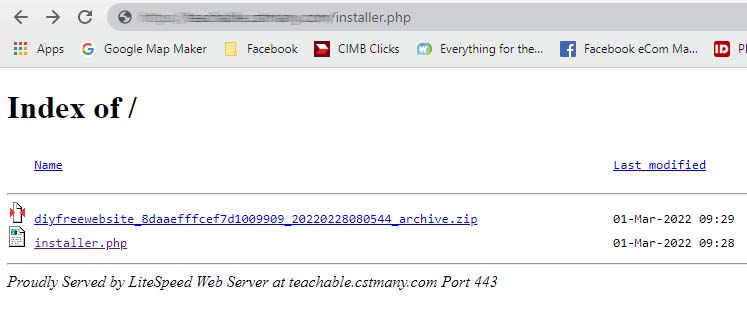
17. Head over to your website and keyin at the url > https://(yourdomainhere)/installer.php
18. Keyin the password you got from the freebies email and click Submit.
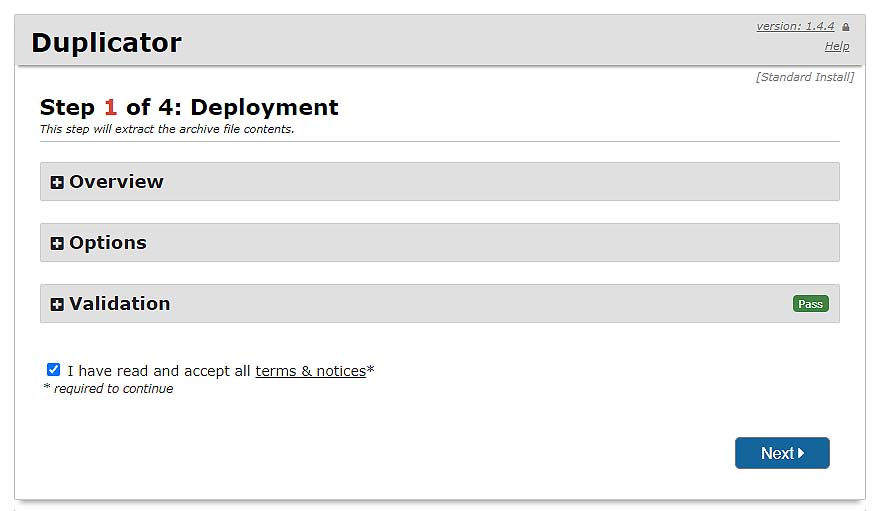
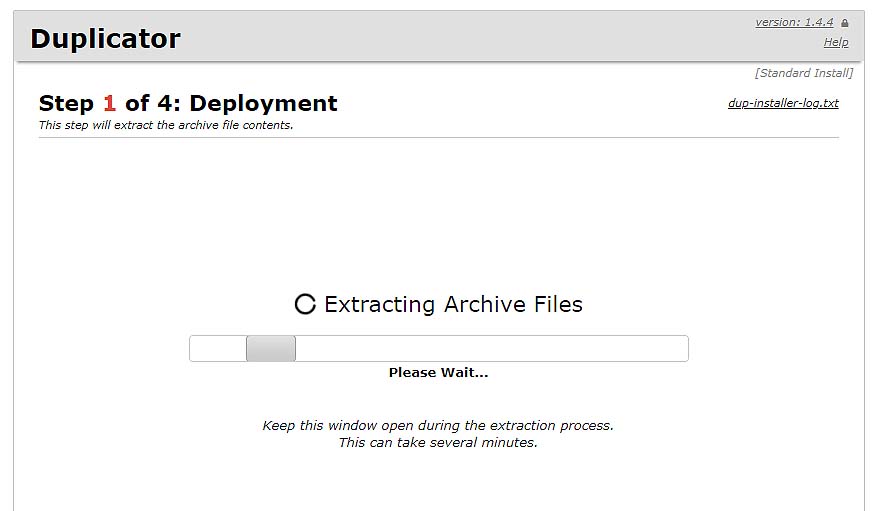
19. Click Next >
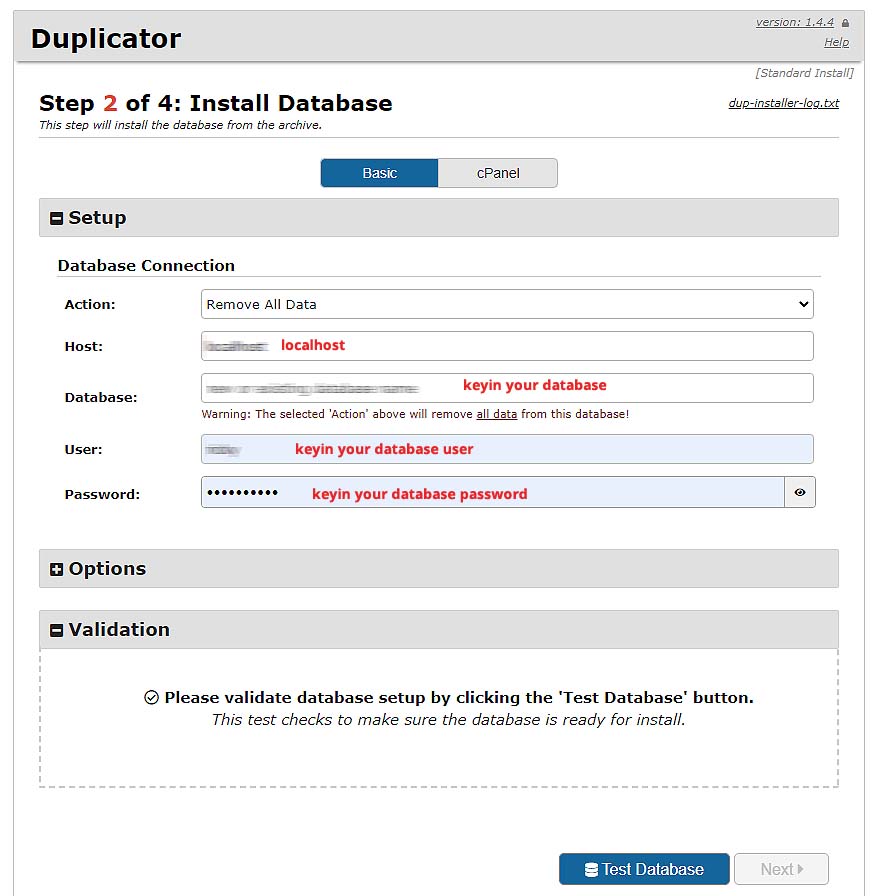
20. Keyin the database details. Then click on Test Database.
21. Make sure that Validation shows Pass for Requirements and Good for Notices.
Click Next.
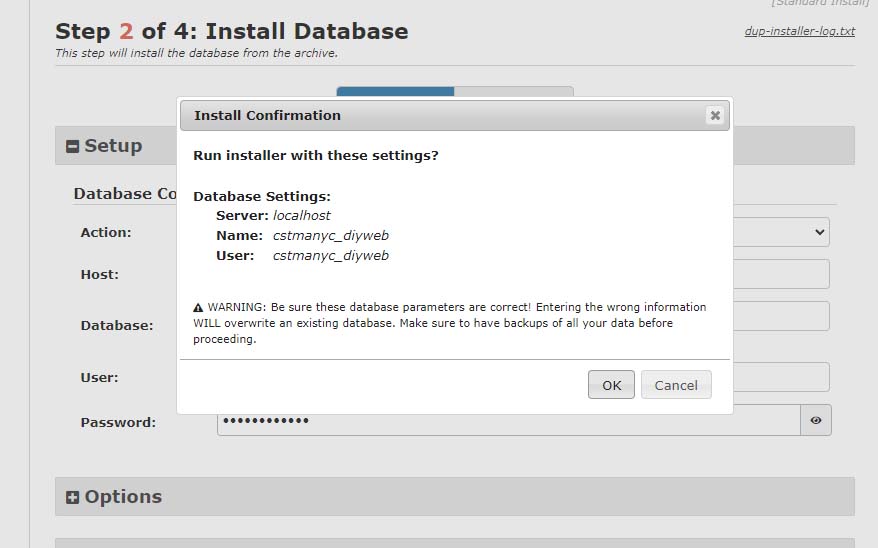
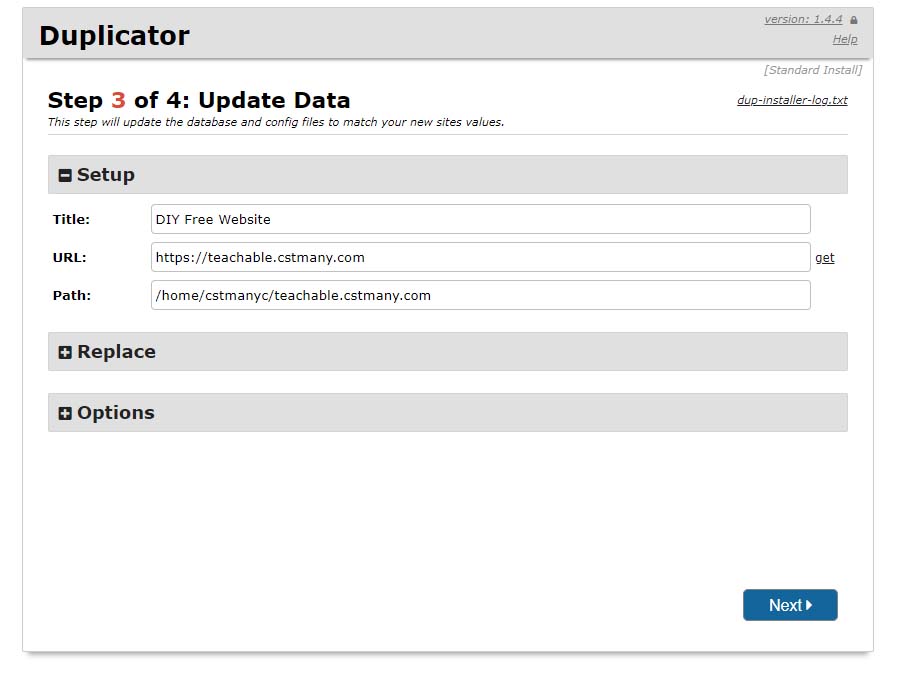
22. Click OK.
23. Click Next
24. Congratulations. You have successfully installed the DIY WordPress on your site.
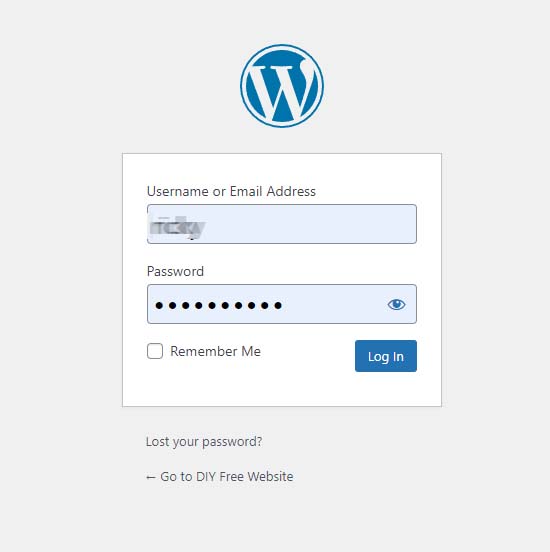
Click on the Admin Login.
25. Log in to the site with the username and password you received in the Freebies email sent to you.
You will now be able to access the admin site and edit your website.
26. Head over to the frontend of your site.
You should be seeing this design now.
Enjoy and cheers.

- We offer Installation Service for USD50 .
- We offer Online Tutorial on “How to Manage and Edit the website, using the famous ELEMENTOR page builder”.


